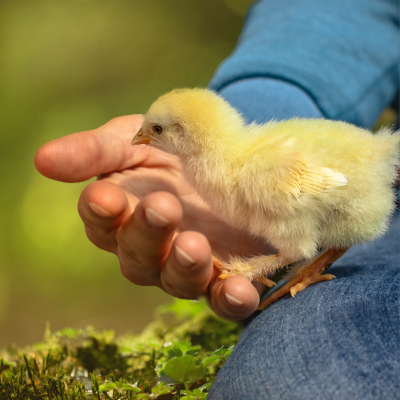
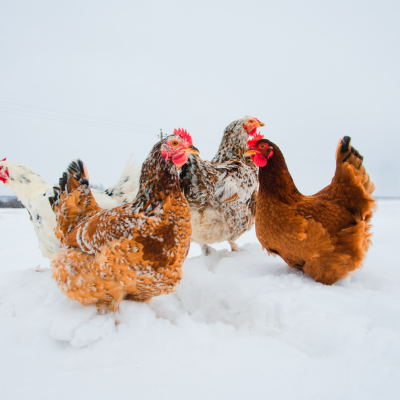
As temperatures drop, keeping animals warm, hydrated, and stress-free becomes a top priority for every farm and homestead. Cold weather brings unique challenges—but with the right preparation, your animals can stay comfortable and healthy all winter long.
Here are your 3 main priorities to help your herd and flock thrive through the coldest days of the year:
1st Priority – Water 💧
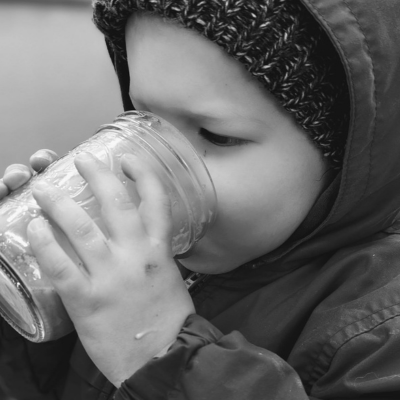
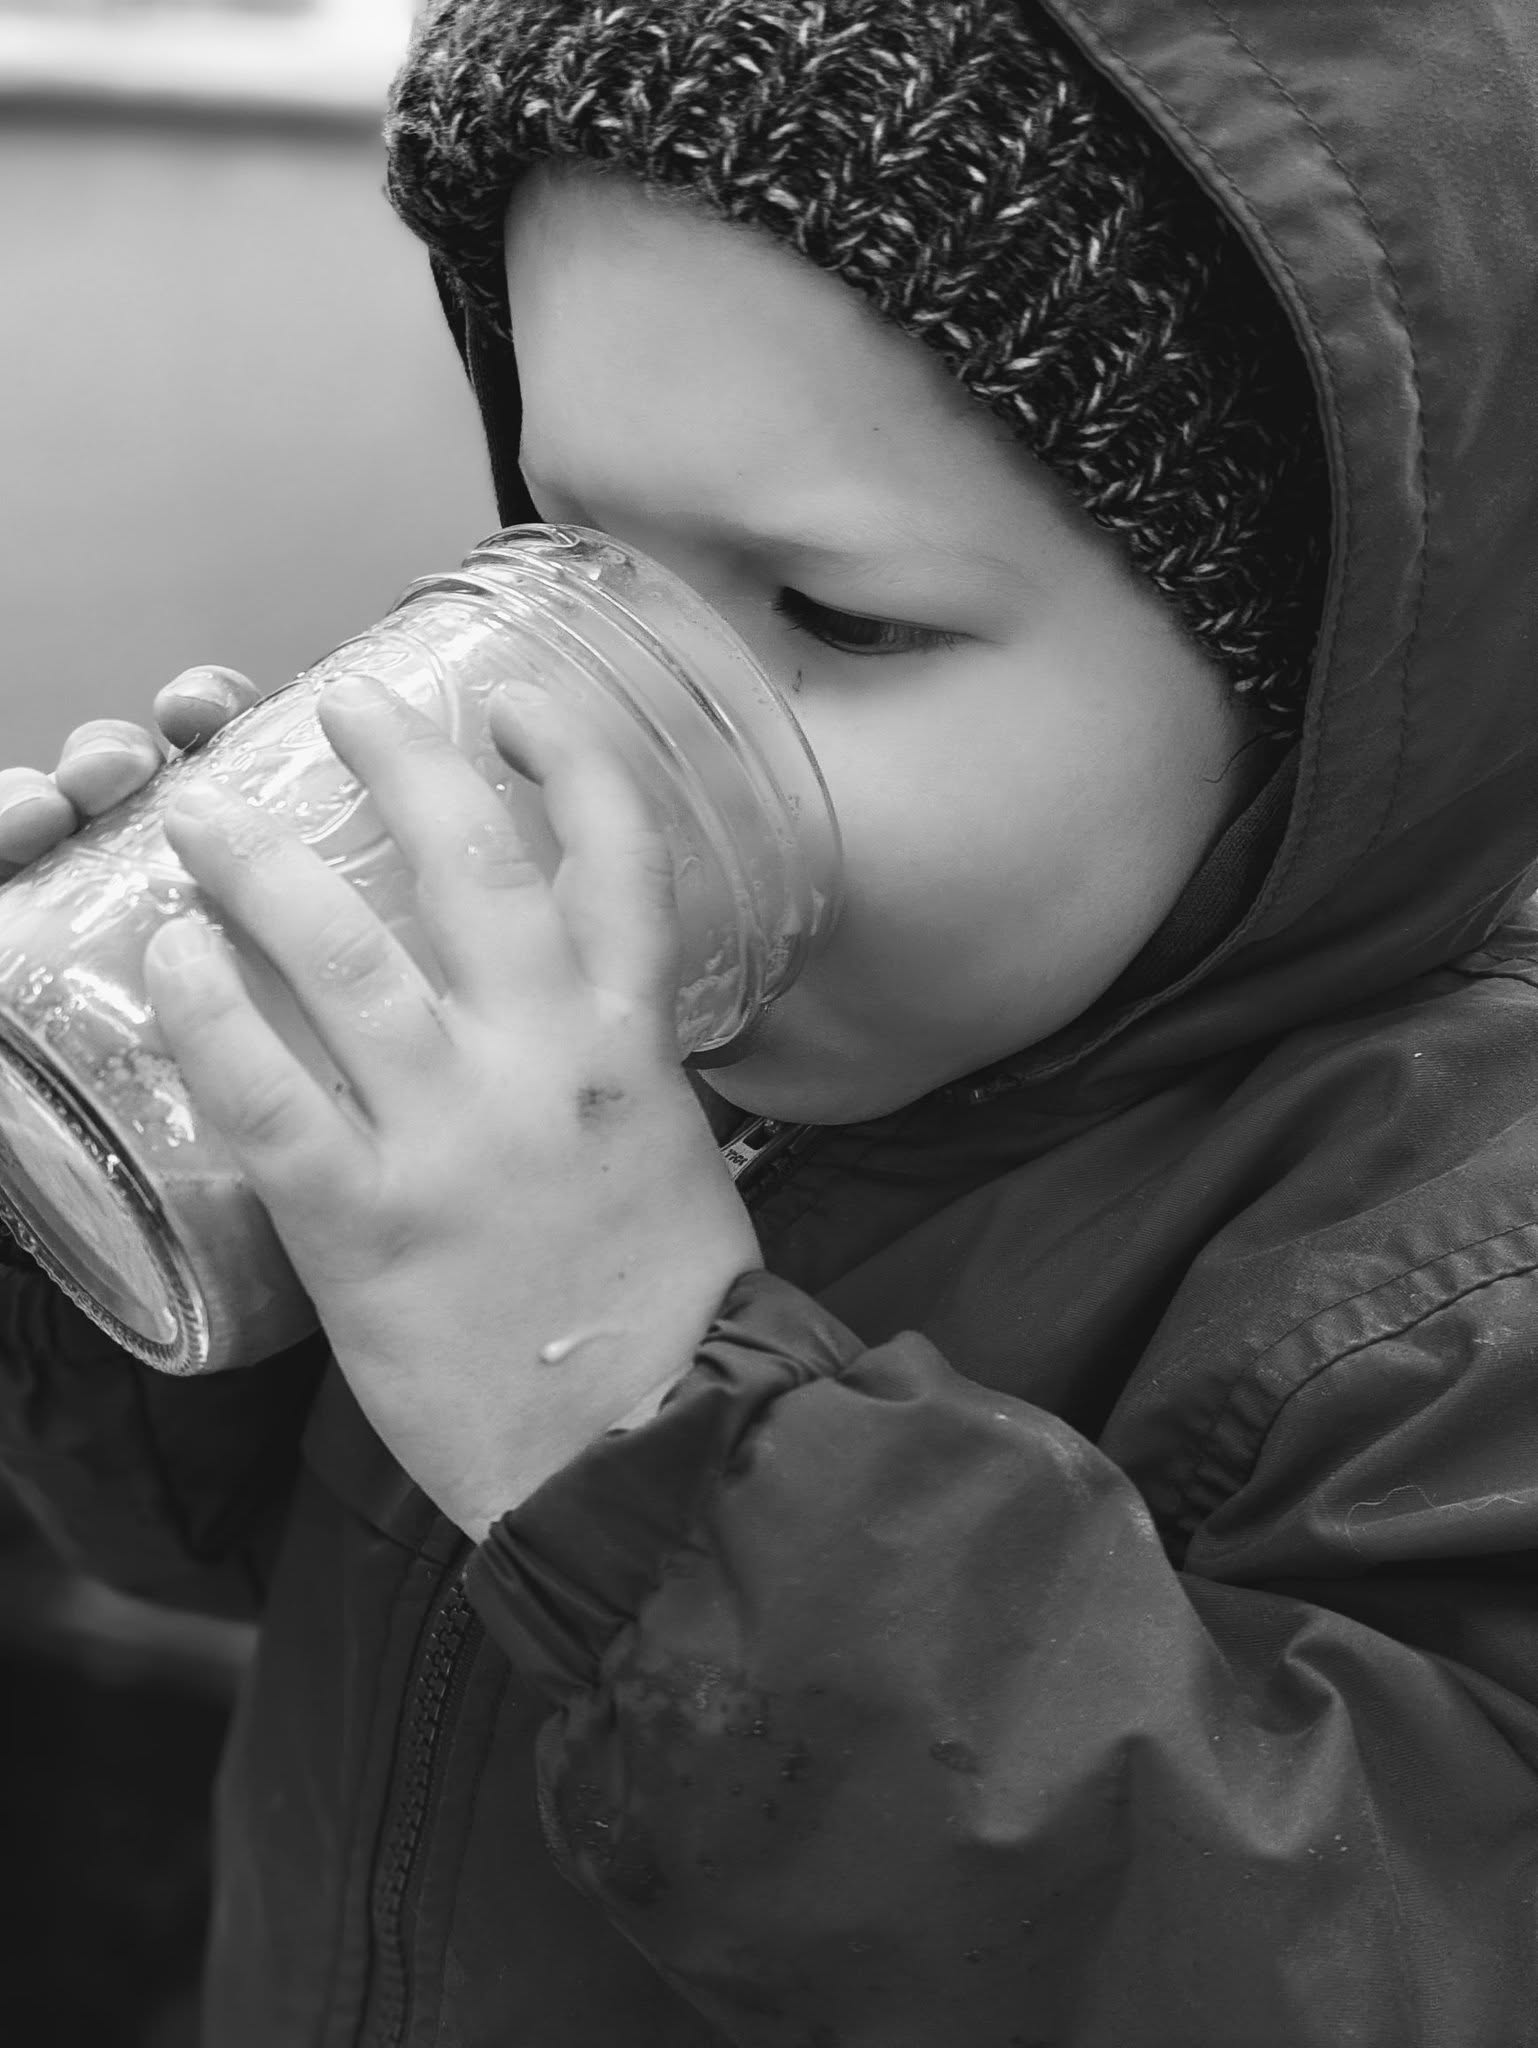
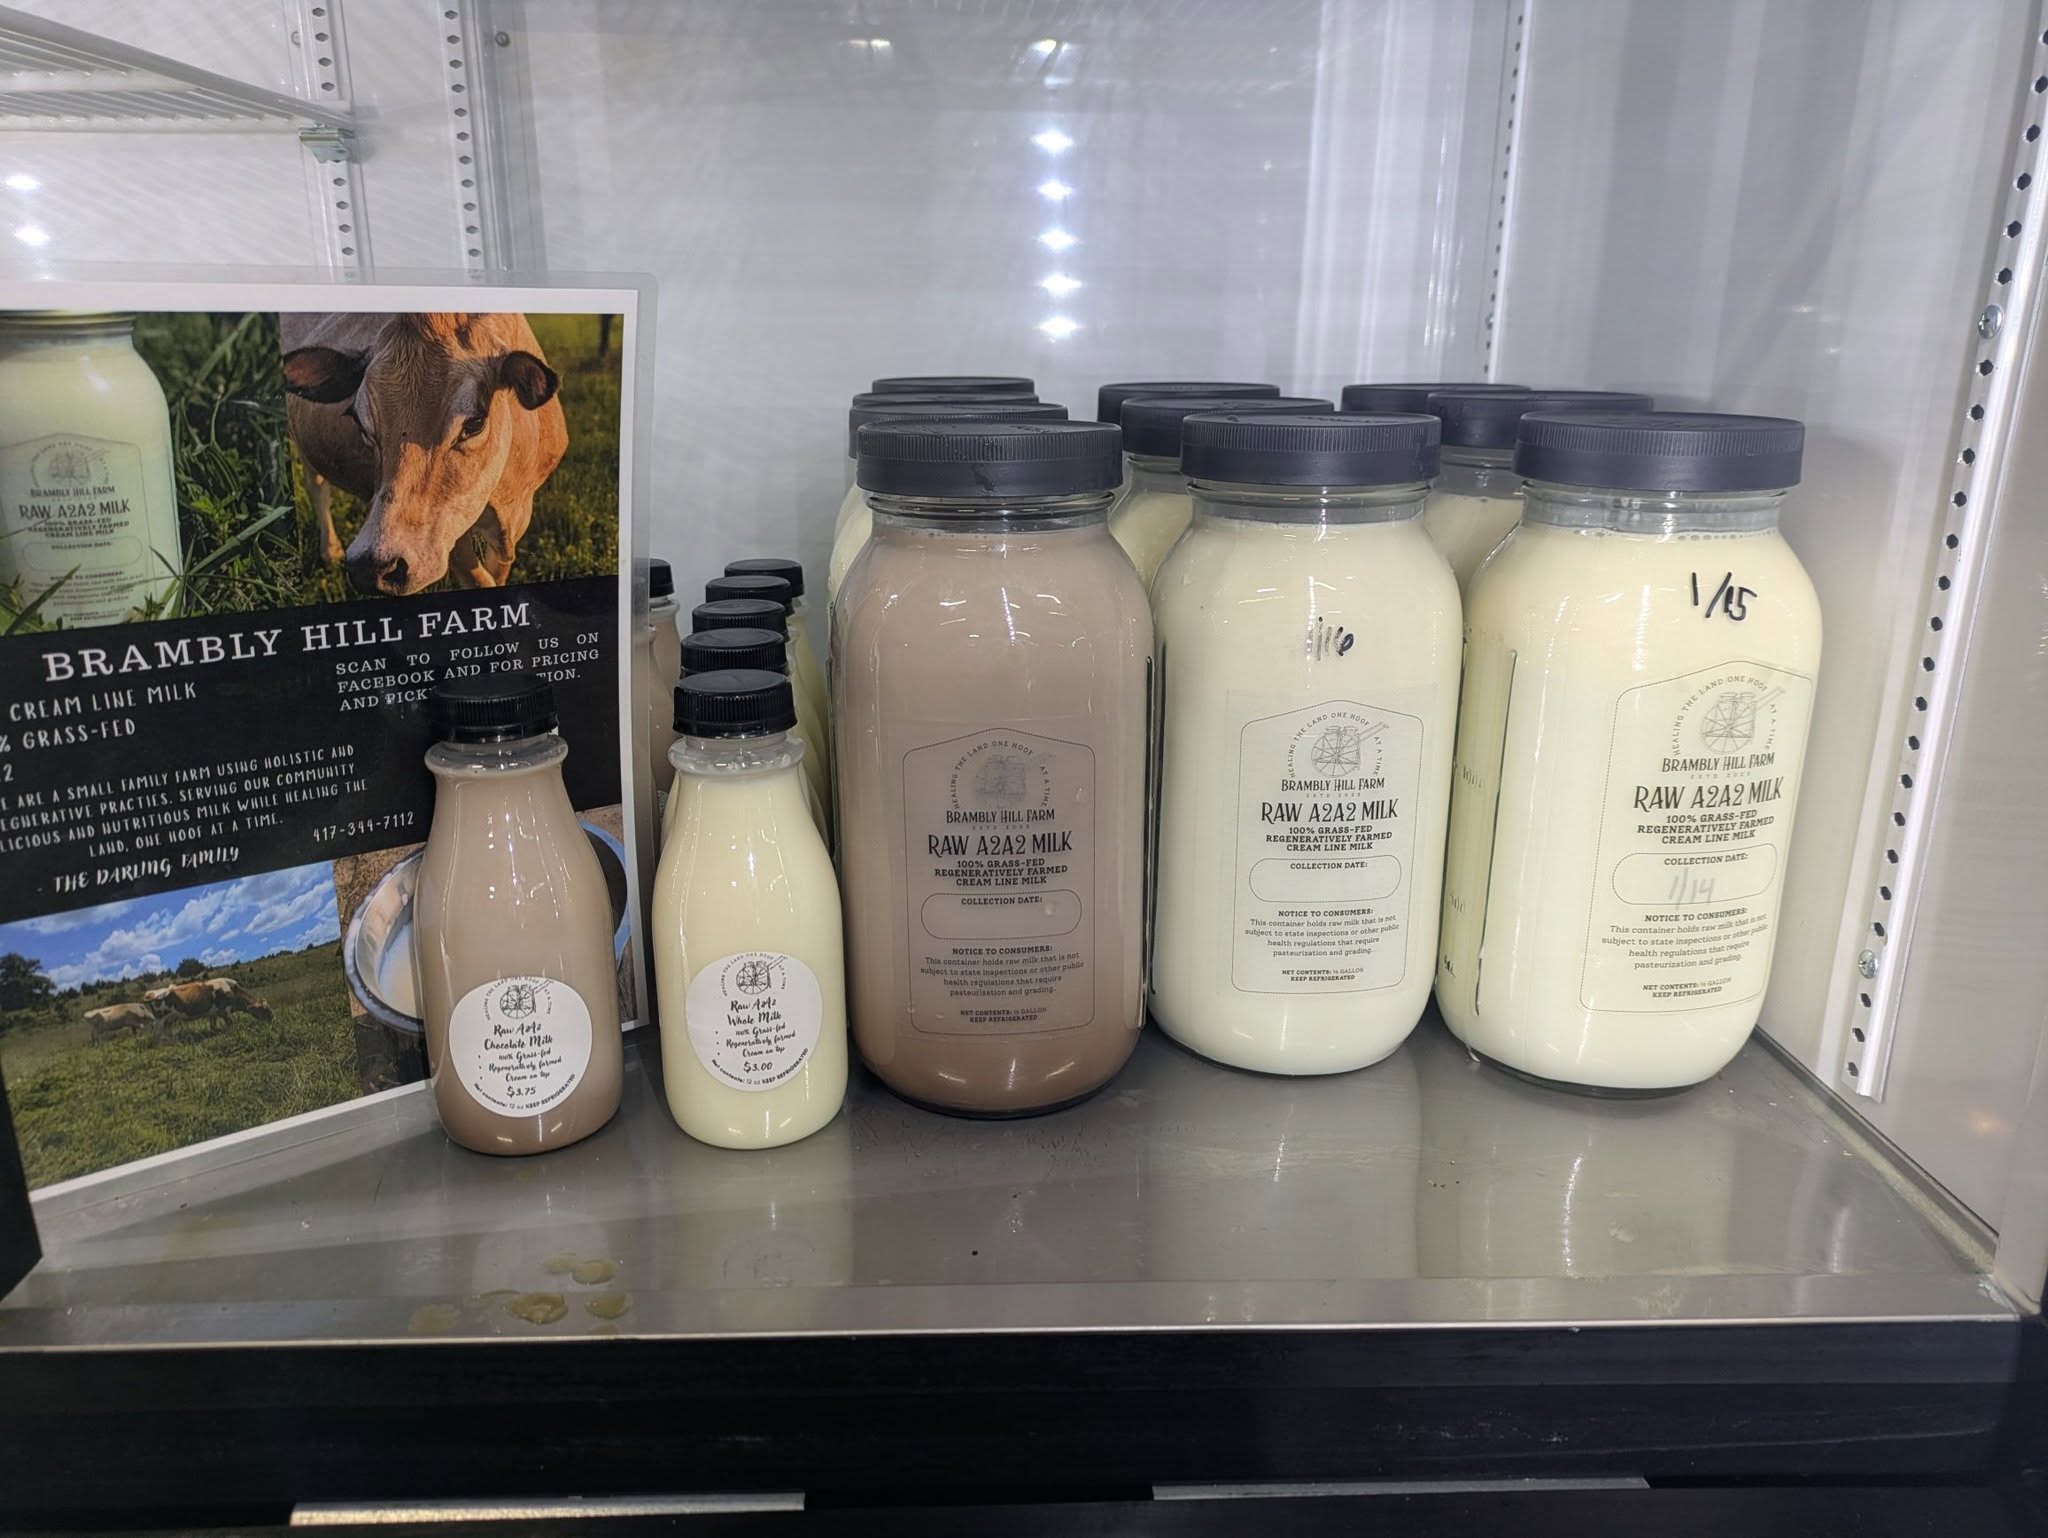
One of the biggest dangers of winter for all animals is decreased hydration. This can be because water sources become frozen, or simply because the water is cold, which decreases animal intake. Dehydrated animals are more susceptible to impactions or disease, and will have a harder time keeping warm. Ensuring you have clean, ice-free water is the most important winter prep you can do for your animals, and if you can keep it warm, even better! Studies show animals will drink 40% more water when it is warm than when it is near-freezing.
Cold-Weather Water Tips ❄️
Keeping water from freezing can be one of the hardest winter chores. Try these tricks:
🔹 Heated waterers or bucket heaters made for that purpose (safest & most reliable). Resist the urge to use options not rated for outdoor use, like crockpots, which present a fire hazard. Use grounded, outdoor extension cords for any heaters and make sure cords are tucked away where nosy animals can’t mess with them (ahem, goats, we are looking at you!)
🔹 Insulate buckets & troughs by placing them inside larger tubs filled with straw, sawdust, or even old blankets. Anything works for insulation!
🔹 Use dark-colored, rubber tubs which thaw faster in sunlight and are less likely to break if you need to bust out ice or flip them over.
🔹 Float a tennis ball, ping-pong ball, or a bottle filled with salt water in troughs to reduce surface ice. Yes, we know, this doesn’t work for long in seriously cold temps, but does the trick during a more mild freeze.
🔹 Place water under partial shelter to reduce wind exposure and prevent surface ice. Use a piece of plywood to cover the tops of troughs, leaving a small opening for animals to access, this can help insulate and prevent freezing.
🔹 Use a Freeze Miser to prevent freezing of hydrants, hoses and faucets in areas without electricity. These amazing little valves work in the coldest of climates, check out their website to see how they can be set up in a variety of ways to conquer your winter water woes.
🔹 Add hot water to your buckets and troughs to slow freezing – it can be handy to keep a coffee pot or electric tea kettle in the barn so you can heat up water on the spot! Hot water will also thaw surface ice instead of needing to bust or remove it, making it a win-win option.
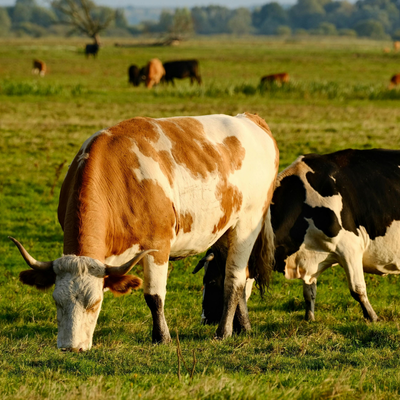
2nd Priority – Forage 🌱
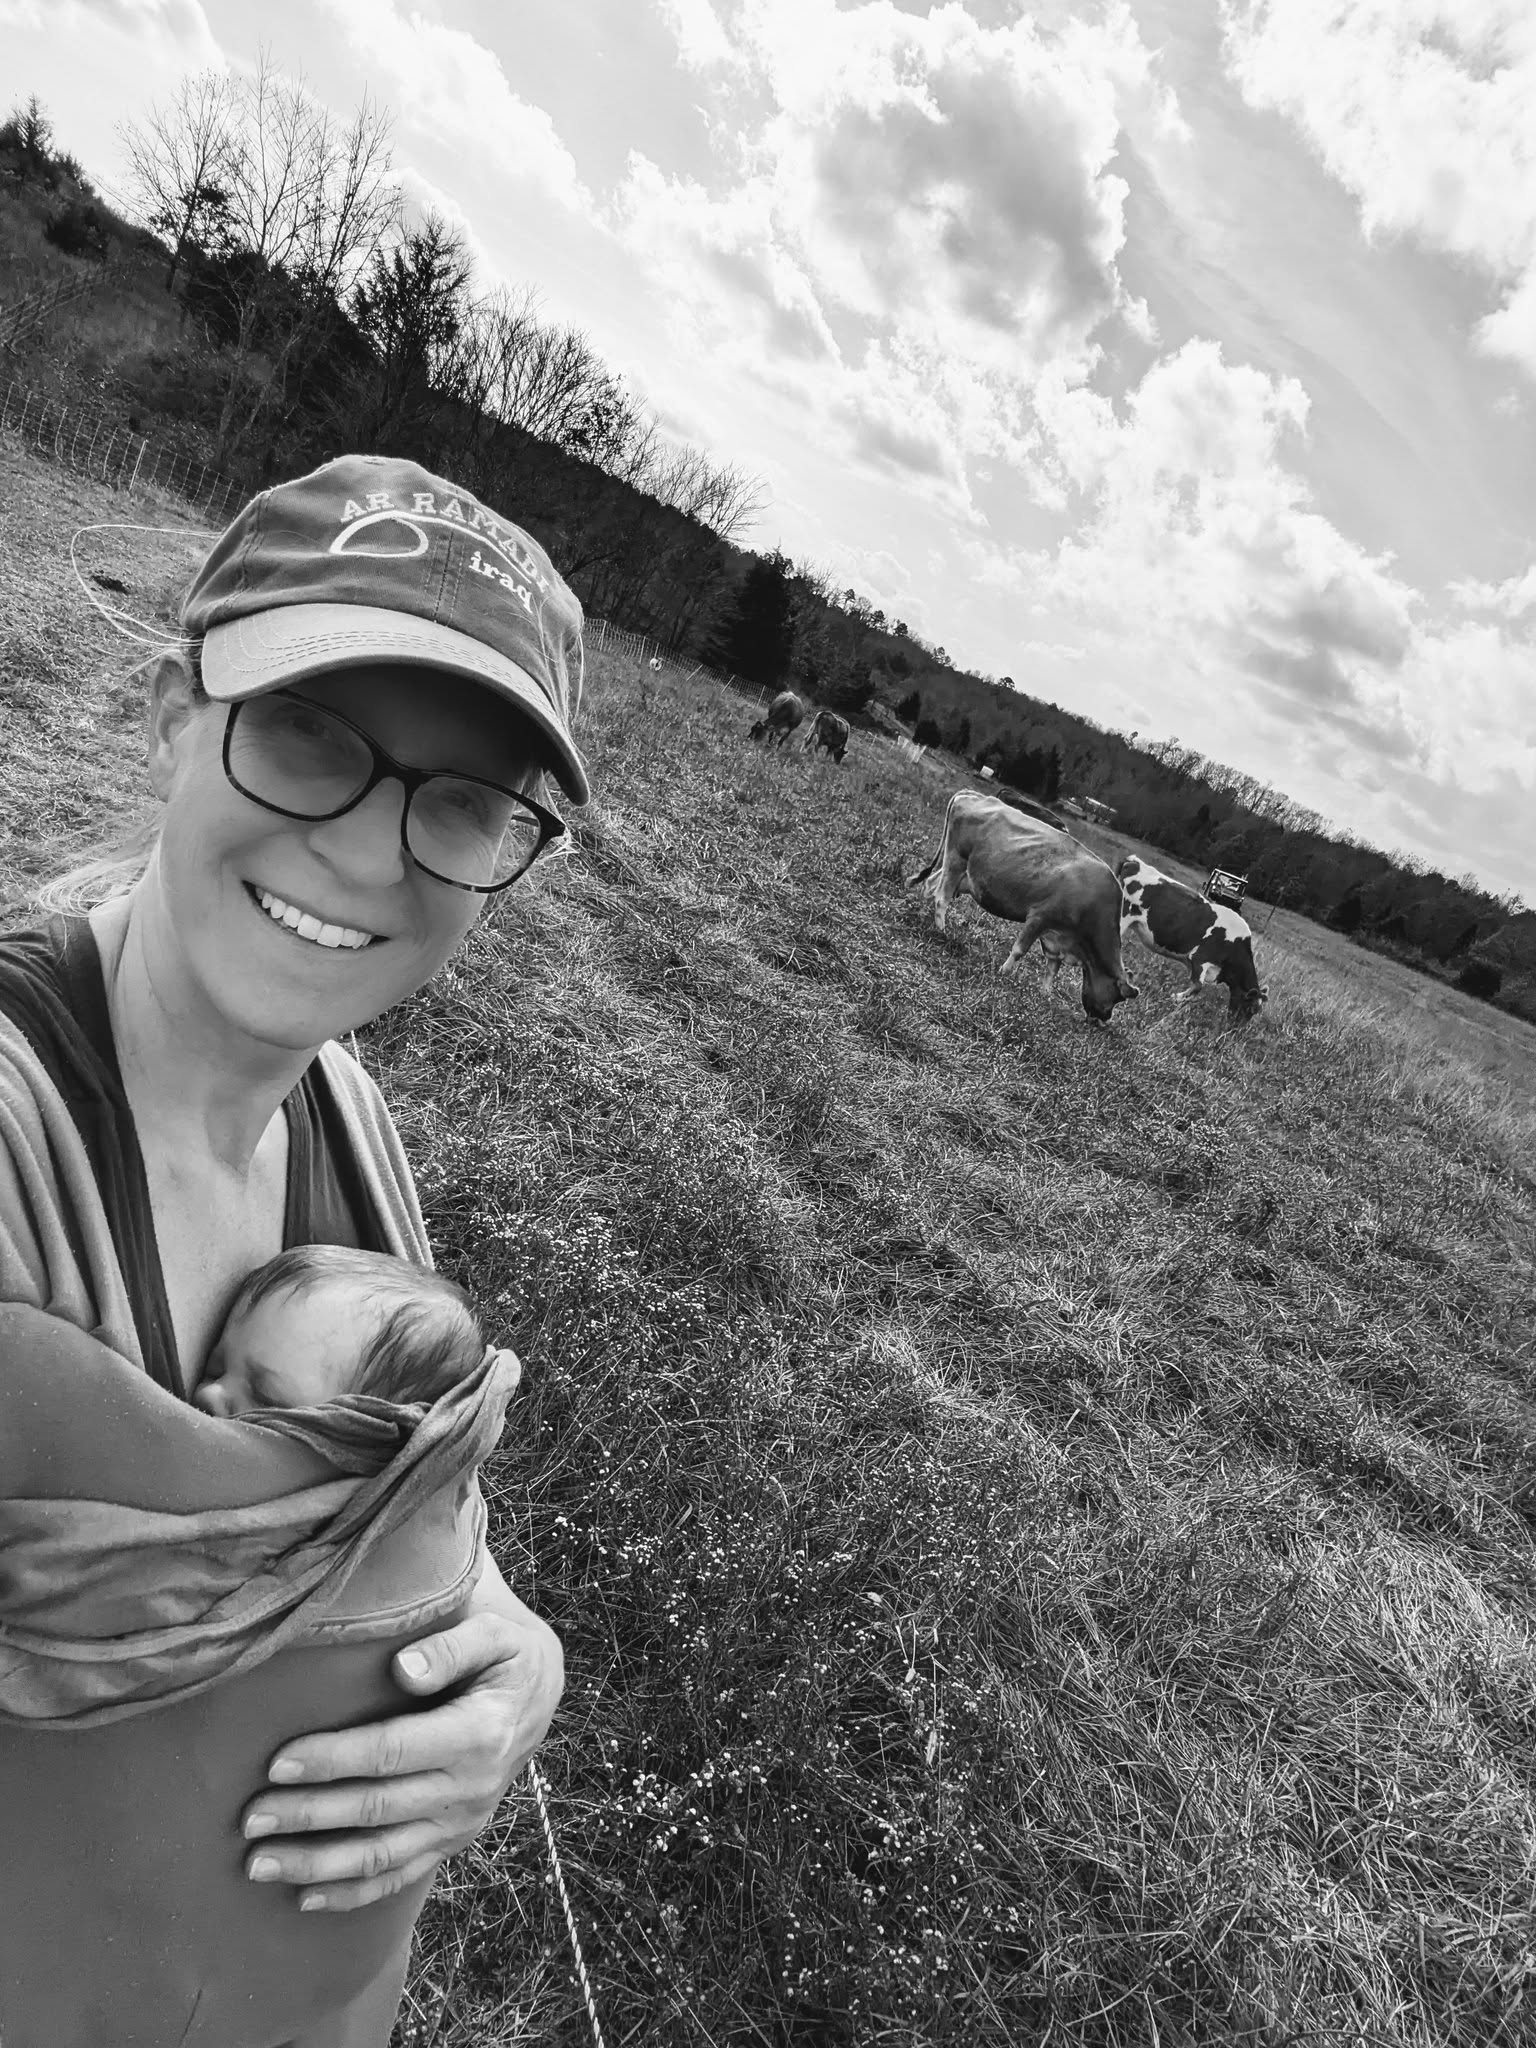
All grazing type animals – from cattle to horses to rabbits – use heat produced by the fermentation of their forage to stay warm in winter. While they should have access to forage 24/7 all year, this becomes even more crucial in the wintertime. If your pasture is covered in snow and the grass is lean, then provide hay to your animals in steady supply.
As the temperature drops, calorie needs increase to keep the body warm, which means some animals may need supplemental feed along with increased forage. For every one degree that it drops below 18 degrees, animals need more calories than normal to maintain body heat. Trying to avoid wasted hay in the snow and mud? Feed in hay nets that can be hung up off the ground to keep it clean and dry. Or spread the hay around your pasture so your animals are not wearing down one area, and your pasture is getting some extra organic material at the same time.
Hay becomes harder to find as we get further into winter, so make sure your stores are secured now before the worst of the weather really sets in. If you live in an area where hay can be difficult to source, look at bagged forage options to stretch or supplement your hay supply such as alfalfa or timothy cubes and pellets, or products like Alfahay.
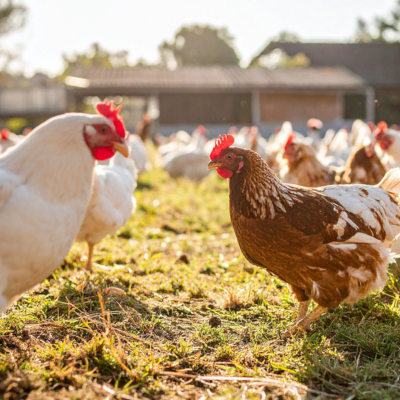
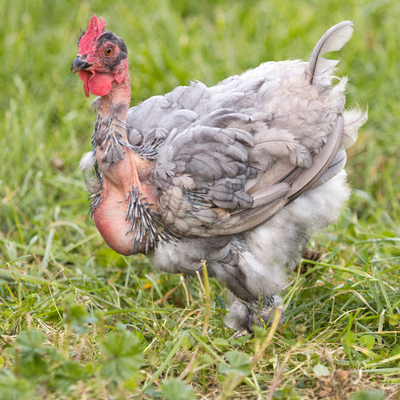
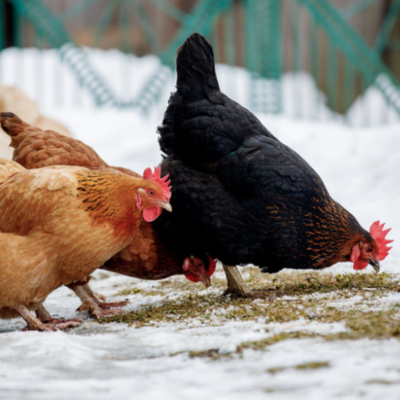
While chickens are not grazers, they can benefit from a little extra fat in their diet during cold temps – a little, not a lot. Feed them some scratch, tallow or coconut oil as a treat during freezing weather.
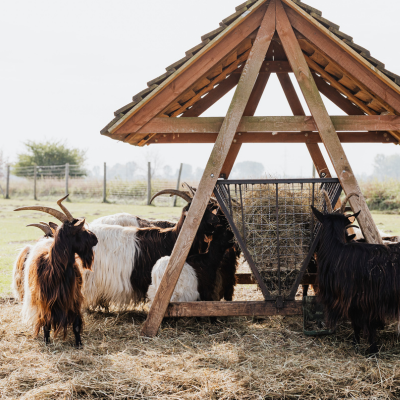
3rd Priority – Shelter 🏠
Sometimes ‘shelter’ gets overcomplicated, more than it really needs to be. The most important component of good shelter is that it helps protect your animals from wind and precipitation. Both wind and wet impede the insulating properties of an animal’s coat or feathers, making it harder to stay warm. If you’ve ever seen animals use a shelter, you already know that they care more about the wind than the wet, which is why they will stand outside of a shelter in the pouring rain in order to block wind coming from the other direction.
So when you think about shelter for your animals, it can be as simple as some straw bales stacked up as a wind-block around your chicken run. It can be a mobile structure with just a roof that you move through your pasture rotation for your ruminants. It can be a blanket on your horses, or a solid wall of fence to block the wind. Add extra bedding or straw to these areas for insulation and warmth from the cold ground when your animals bed down for the night.
Remember – moisture is your biggest threat when it’s cold. So keep coops, stalls, and sleeping areas cleaned and dry. No matter how cold it is, do not fully close up or insulate your coops and shelters, ventilation is important and prevents moisture build up, which can cause frostbite and respiratory disease.
A few other cold-weather tips:
✔ Keep hooves clean
While horses are most susceptible, all hooved animals can get snow and ice packed into their feet. This can cause soreness, infections, and decreased traction on already slippery ground. Spread Vaseline or other oil-based product on the bottoms of their hooves to help prevent ice pack.
✔ Keep salt available
Salt is not just a hot weather necessity – keeping salt in front of your herd all year round will encourage hydration, which is equally important in cold temperatures.
Winter care takes extra effort, but the reward is healthy animals who stay warm, hydrated, and thriving through snow, ice, and wind. With adequate shelter, consistent access to forage, and a plan for open water, your livestock—from chickens to cattle—can weather the cold with ease. Stay warm out there friends! ☃️